
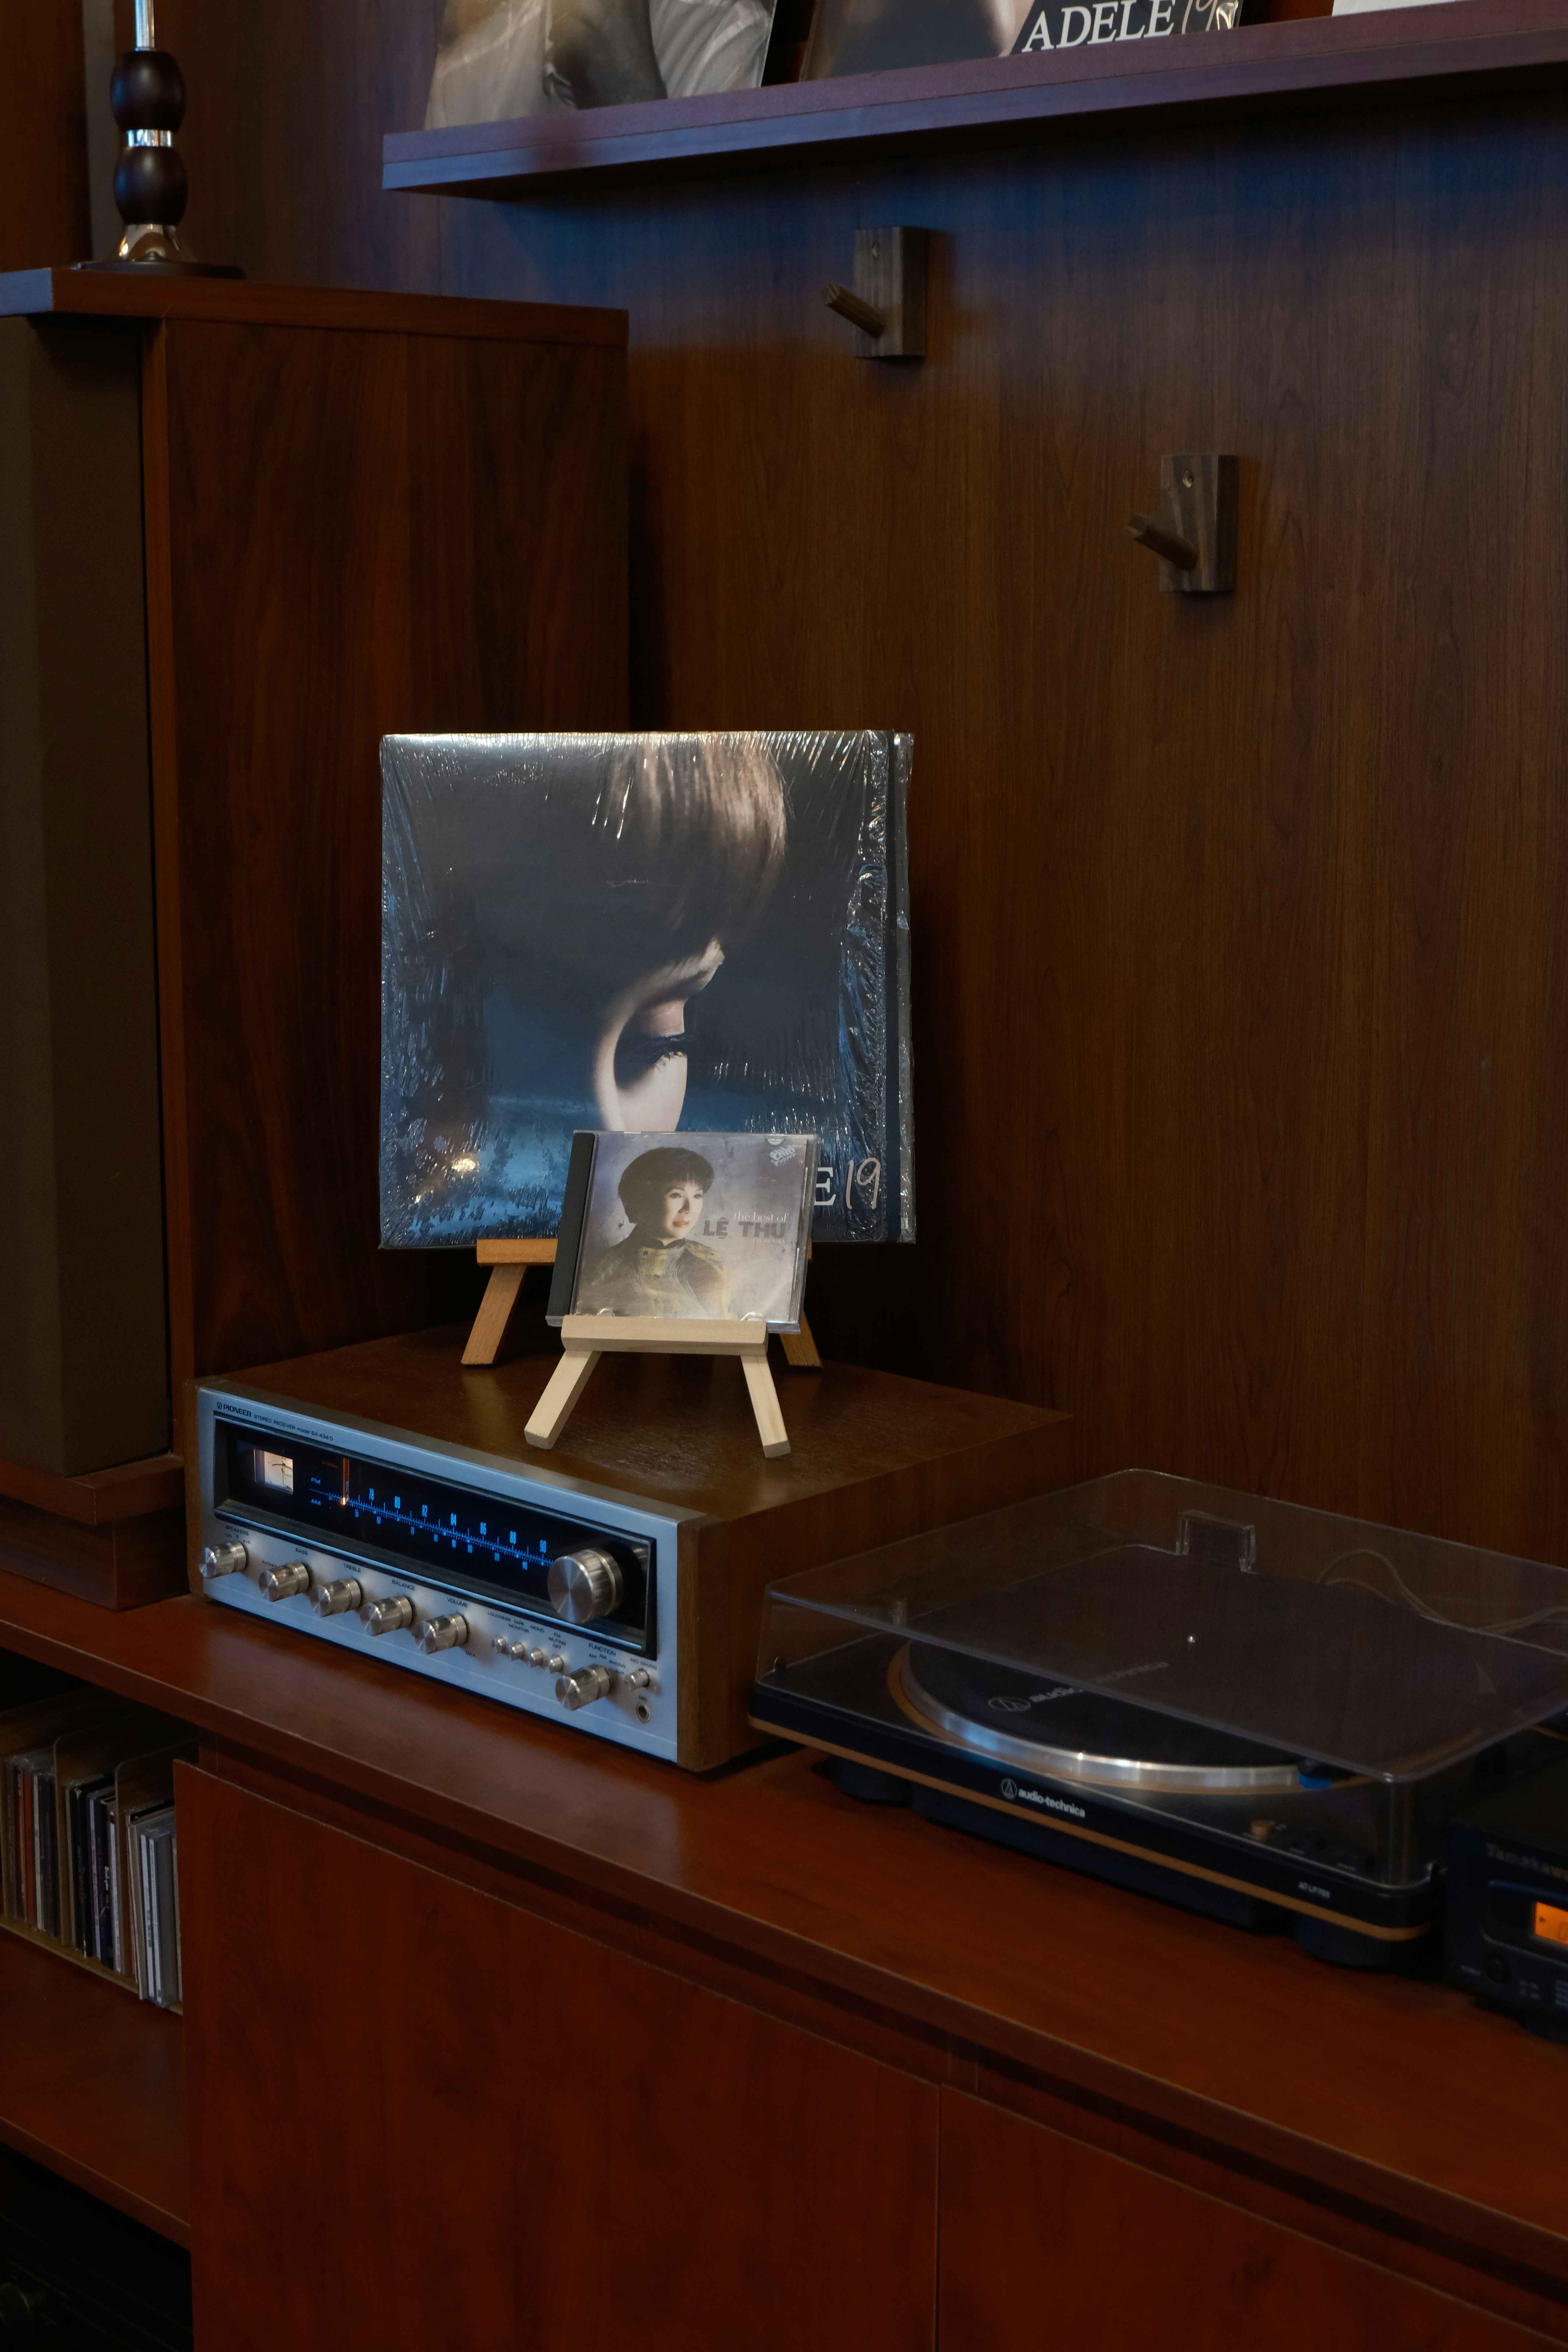
How to Pack Your Music System and Home Theatre
Executive Summary
Packing a home theatre and music system for relocation is an equipment-handling process focused on protecting interconnected audio and visual components during transport. These systems include delicate electronic parts, speakers, and cables that can be affected by shock, pressure, and improper handling. The information is most relevant for households and moving professionals responsible for relocating home entertainment equipment.
Why Complex Audio Systems Are Often Damaged During Moves Despite Careful Handling
Your home audio and theatre system is more than just a collection of electronics; it's the source of your curated playlists, cinematic movie nights, and immersive soundscapes. For busy professionals, it's often a well-deserved escape. When moving, the thought of tangled wires, scratched speakers, or a damaged receiver can be a significant source of stress. These systems are a blend of delicate electronics and precision audio components that are highly susceptible to damage.
Packing a multi-component home theatre or a high-fidelity music system requires precision and care. A single dropped speaker or a crushed DVD player can disrupt the entire setup, leading to costly replacements and the frustrating task of troubleshooting what went wrong. A methodical approach is essential to protect your investment.
This guide provides a clear, step-by-step process for packing your music system, CD/DVD players, and home theatre components. Following these instructions will ensure your entire entertainment hub arrives safely, ready to be set up for immediate enjoyment in your new space.
Pre-Packing Essentials: Organize and Document
Before you begin wrapping, a little organization will save you a massive headache during reassembly.
The Step: Make a drawing of the wiring & disconnect cords. Mark each wiring separately.
Modern home theatre systems can be a complex web of connections. Before unplugging anything, take a photo or make a simple drawing of the back of your receiver and other components. As you disconnect each cable, use masking tape and a marker to label both ends (e.g., "HDMI Out to TV," "Right Speaker to Receiver"). This documentation is your roadmap for a quick and painless setup later.
The Step: Remove all Cassettes / CD / VCD / DVD from the player.
It's a small but crucial step. Leaving a disc inside a player during a move can damage both the disc and the player's internal transport mechanism. Eject all media and pack them separately in their cases.
Step-by-Step Packing Guide
Follow these professional steps to ensure every component is secure.
1. Use Original Packaging if Possible
The Step: Use original packing if available & refer to the owner’s manual for instructions.
The boxes your equipment came in were custom-designed to protect it. The form-fitting styrofoam and sturdy cardboard offer the best possible defense against shock and vibration. If you saved the original packaging for your receiver, speakers, or players, now is the time to use it. Your owner's manual might also have specific moving instructions, such as how to lock a turntable arm.
2. Protect Against Dust and Scratches
The Step: If original packing is not available, first wrap all components with polythene to protect from dust/scratches.
If you don't have the original boxes, wrap each individual component—receiver, speakers, subwoofer, DVD player—in a layer of polythene sheeting. This creates a barrier against dust, moisture, and surface scuffs.
3. Cushion with Bubble Wrap
The Step: Wrap with bubble wrap for cushioning.
Next, generously wrap each polythene-covered component in bubble wrap. This is your primary defense against impact damage. Pay special attention to fragile areas like speaker cones, control knobs, and digital display screens. Secure the bubble wrap with packing tape.
4. Add a Rigid Outer Layer
The Step: Wrap with corrugated rolls or sheets for added protection.
For an extra layer of security, wrap the bubble-wrapped items in corrugated cardboard. This adds a rigid shell that helps protect the components from being crushed or punctured by other items in the moving truck.
5. Box Everything Up Securely
The Step: Finally place the components in strong cartons. Don’t forget to pack the remote & cables along with the music system.
Select sturdy, double-walled cardboard boxes that are slightly larger than your wrapped components. Place one main component per box (e.g., the receiver in one, speakers in another). Pack the corresponding labeled cables and remote control in the same box. Fill any empty spaces with crumpled paper or packing peanuts to prevent items from shifting.
6. Guard Against Moisture (For Storage/Shipping)
The Step: Silica gel should be used to prevent moisture.
For long-distance moves or if your electronics are going into storage, this step is vital. Moisture can cause corrosion and permanent damage to electronic circuit boards. Place a few silica gel packets in each box to absorb any humidity.
7. Seal and Secure the Boxes
The Step: Secure cartons with tape. Secure with twine or straps for larger music systems.
Seal each box thoroughly along all seams with strong packing tape. For larger, heavier boxes containing subwoofers or floor-standing speakers, consider reinforcing them with twine or plastic straps for extra security and easier handling.
8. Label for Careful Handling
The Step: Mark package with glass/handle with care stickers.
Affix "Fragile" and "Handle with Care" stickers prominently on all sides of each box. This is a clear visual cue to movers that the contents are delicate and require special attention.
9. Label for Easy Identification
The Step: Mark owner name, package number, contents, room & destination on the package.
An organized move is an efficient move. Use a permanent marker to clearly write:
- Owner Name
- Package Number (e.g., "Box 1 of 4 - Home Theatre")
- Contents (e.g., "AV Receiver & Cables")
- Destination Room (e.g., "Living Room")
Final Recommendation: Consider Crating
The Step: Crating is strongly advised.
For high-end, audiophile-grade equipment, or for any system undertaking a long-distance or international move, custom wooden crating is the ultimate protection. A crate provides a rigid, secure enclosure that completely isolates your delicate electronics from the bumps and pressures of transit. It’s a worthwhile investment for irreplaceable gear.
Conclusion
Packing your home entertainment system doesn't have to be a daunting task. By taking a deliberate and organized approach—from labeling wires to providing ample cushioning—you can demystify the process. Investing a little time now protects your equipment and ensures that as soon as you're ready to unwind in your new home, your favorite music and movies are ready for you.
Photo by [Linh Quach] on [Unsplash]
Related Links
How to Pack Mirrors & Glass
How to Pack a Washing Machine / Dryer
How to Pack an Air Conditioner